Take Your Ice Cream Party on the Road with Play & Freeze Ice Cream Maker
By Blog Editor Susan Wells
Who says science needs to stay indoors? If you are looking for something to do on a camping trip, BBQ, picnic or party, take the science outside and make a little ice cream. Our Play and Freeze Ice Cream Maker is perfect to get the kids (or adults) running around, laughing and playing.
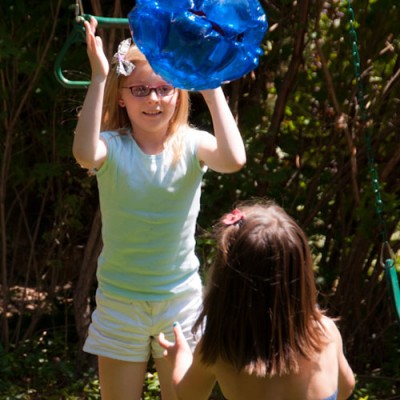
We used our product testers and ice cream taste testers to make some ice cream during a backyard gathering.
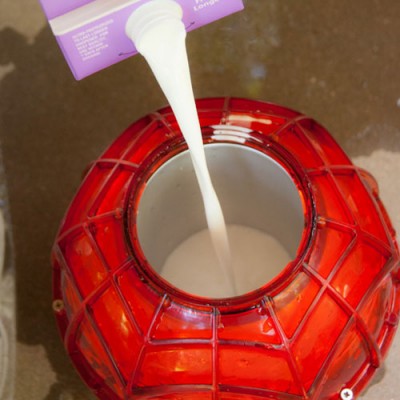
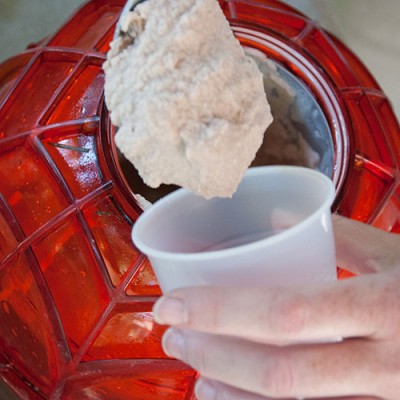
The Play and Freeze Maker is easy to use – fill the ball with ice and rock salt on one end. Flip it over and fill the stainless steel canister with ingredients.
Basic Vanilla Ice Cream
- 1 pint of Half & Half
- 1 1/2 teaspoons vanilla
- 1/3 cup + 2 Tablespoons sugar
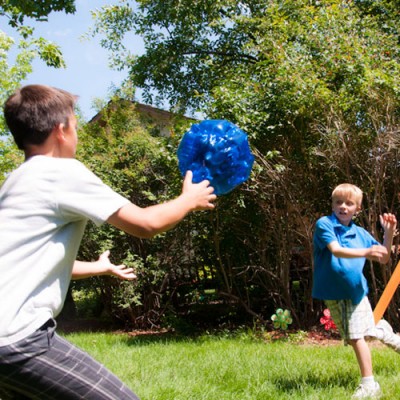
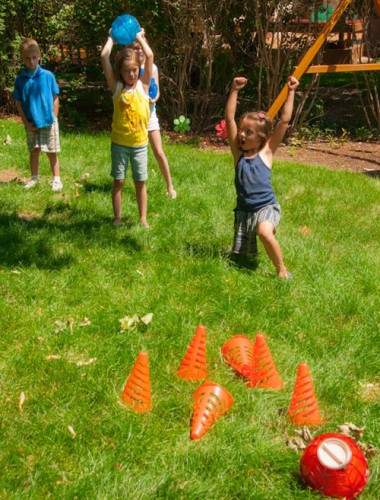
Then let the kids at it. They can roll and shake it all around the backyard. Our kids were creative and even set up bowling pins. The kids quickly learned it isn’t smart to play catch with the maker or kick it. It’s heavy and very hard. Soccer ice cream is not recommended.
We also used an Inflatable Play and Freeze Ice Cream Cover on one of our ice cream makers. The inflatable cover protects hardwood floors from the ball’s hard edges so you can make ice cream inside, and keeps it safer and easier for younger children to use. You can also take it into the pool, because the inflatable cover floats.
We found the cover also keeps the ball colder. We had more ice left inside on the ball with the cover, vs the ball without the extra insulation.
The Ice Cream Maker, makes the process easier, but you don’t need a fancy product to make homemade ice cream. You can also make it in a Zip-loc bag or coffee can. Check out our step by step Sick Science! instructions on how to make ice cream from just stuff found around the house.




Leave a Reply
Want to join the discussion?Feel free to contribute!