
Slime Art Experiment – How to Turn Slime Into Artwork
Slime Art
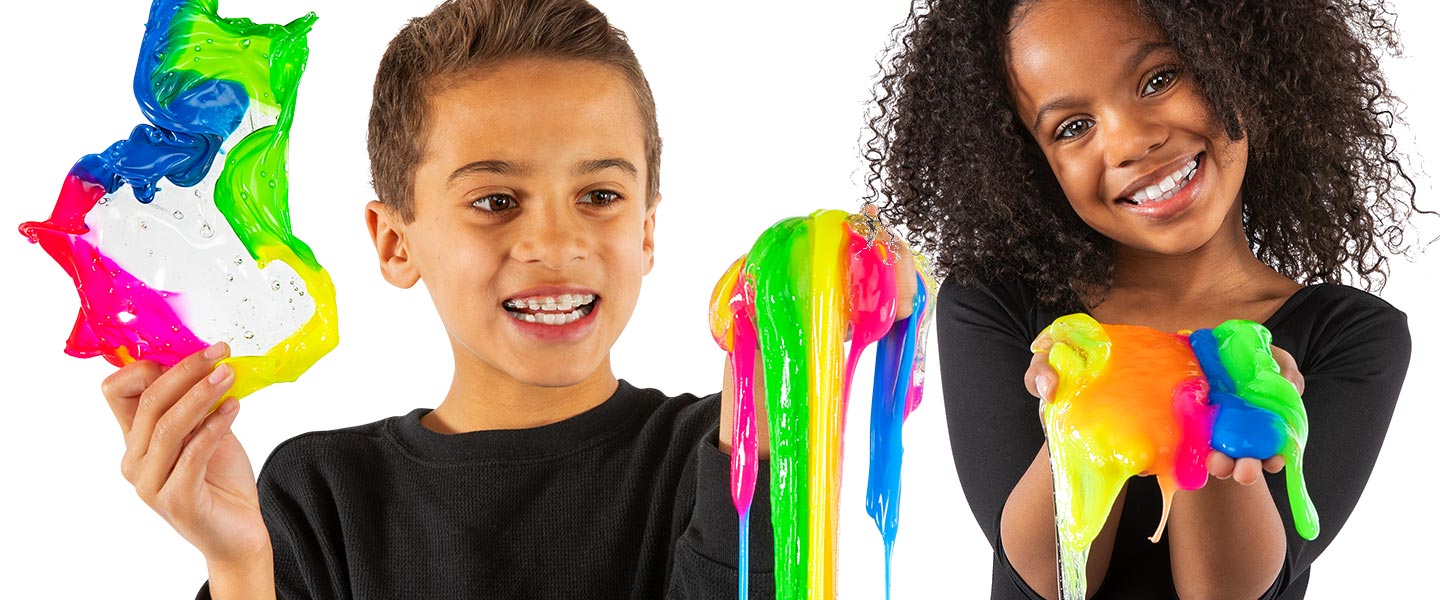
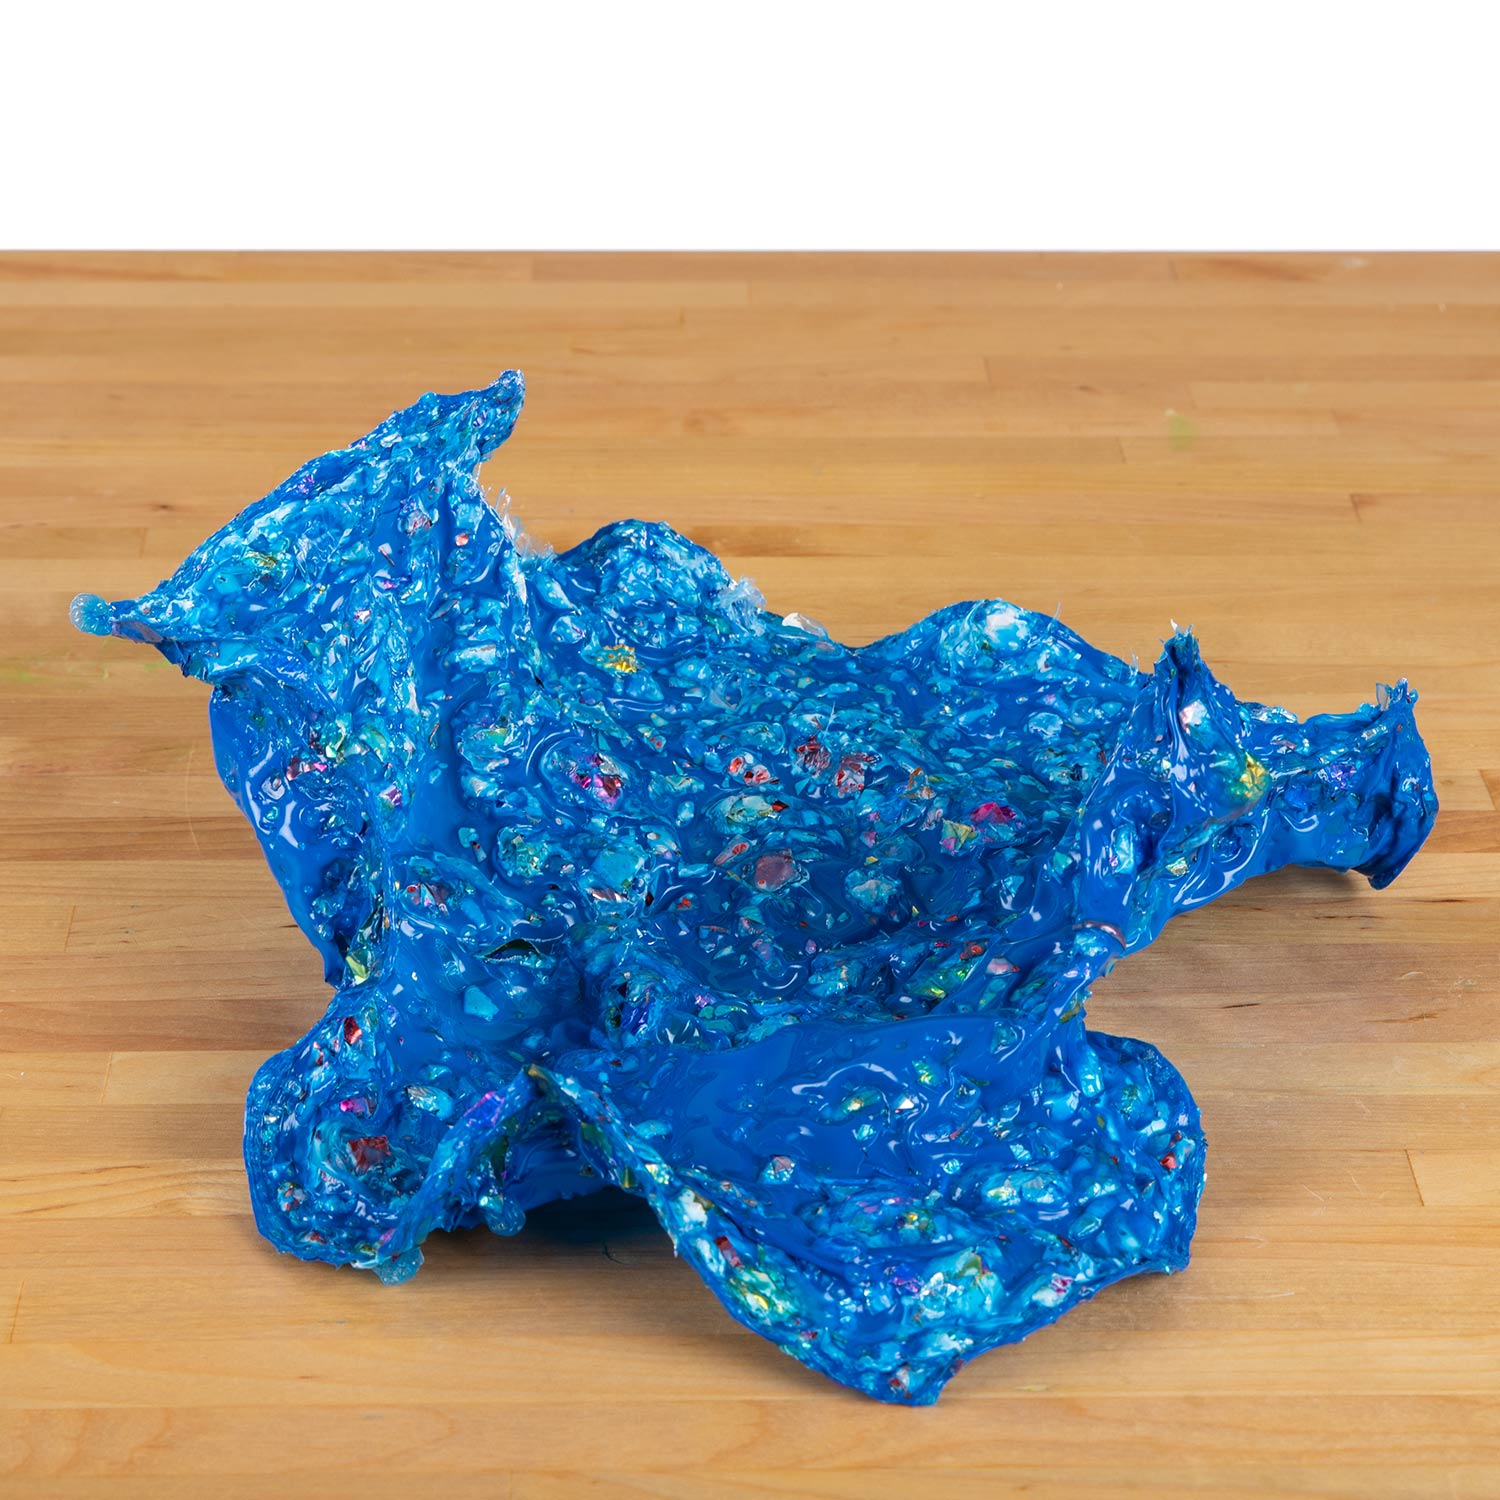
We all know that playing with slime is one of the most fun activities, but what do you do with it when you’re done? You can put it into a zipper-lock bag and save it for later or you can make Slime Art. What exactly is Slime Art? Once you leave slime out to dry, it will turn into an amazing piece of art or rainbow sculpture.
Slime Art is a great way to preserve the color, texture and other features of your favorite slime creations. Plus, when you use your old slime to make artwork, you’ll have an excuse to make new slime, which is half the fun. Follow along to learn how you can make a slime painting or another colorful slime creation.
Experiment
1
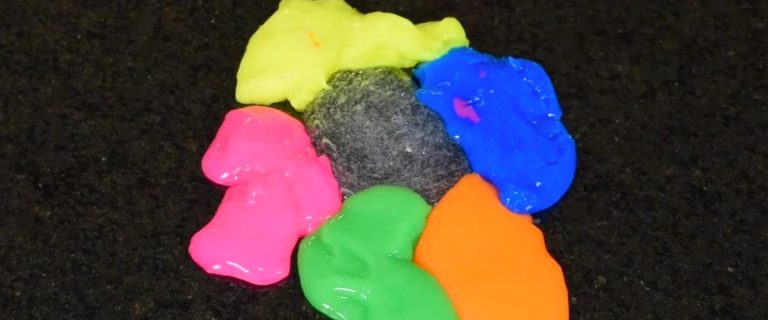
Take a blob of slime and lay it out on a flat, non-porous surface, like a granite countertop, a laminated surface or a glass table. It’s important to choose a non-porous surface so that the slime doesn’t stick. Slowly press down on the slime to make it thin. If you have multiple colors of slime, you can try pressing them together to blend the colors together or to make a multicolored creation. Your slime colors will probably blend together at least a little bit during the next step, so choose colors that work well together.
2
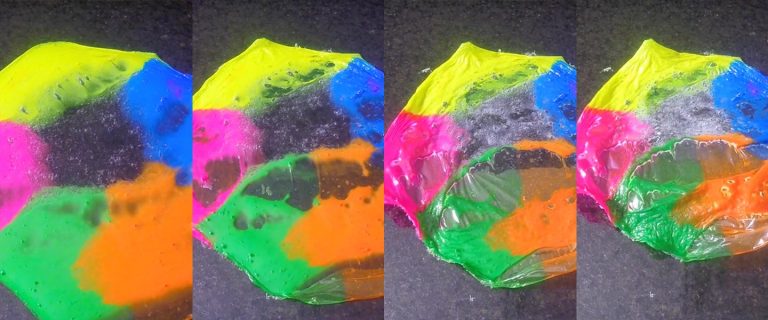
Once you’ve made your thin sheet of slime, it’s time to let the drying process begin. This can take anywhere from two to four days, depending on the humidity level of your location. If you live in a more humid climate, the slime might take longer to dry. Doing the experiment in an air conditioned space can speed up the process.
3
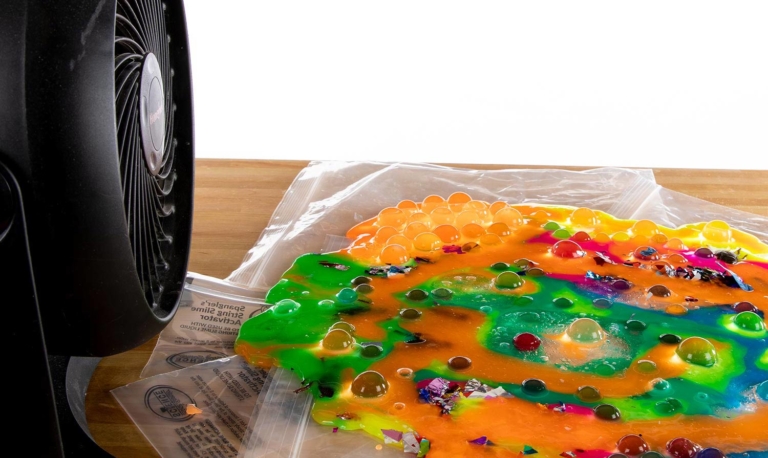
In a hurry? Try using a fan to make your slime art. If you use a fan to blow on the slime, it will dry much faster than allowing it to air dry. Using a fan will also make it wavy, adding texture to your slime. Instead of a fan, you can also use a hair dryer on the lowest setting.
4
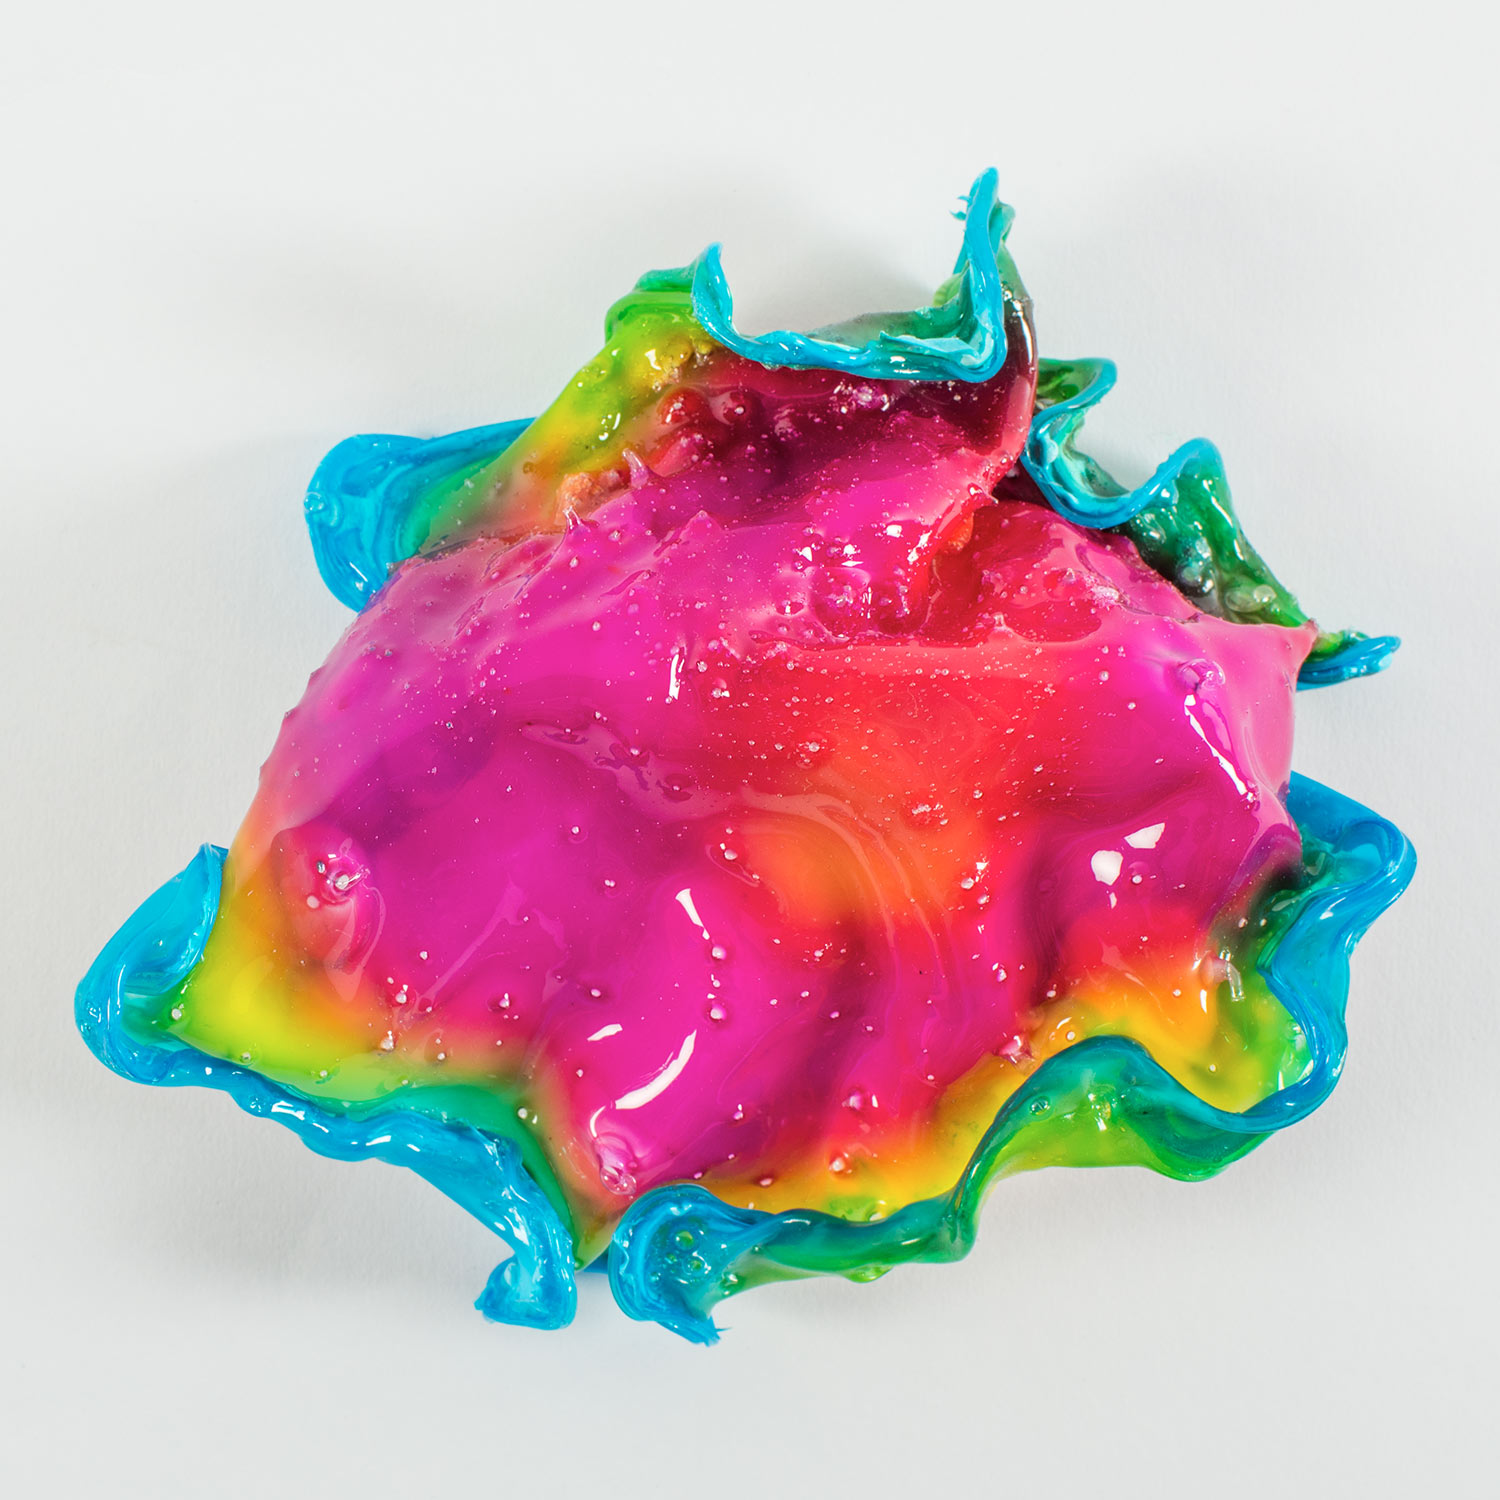
Once your slime has started to dry on the edges, you can slowly lift up the edge to allow more airflow underneath. Resist picking up your slime completely or flipping it over until it’s dry. Once your slime is dry, you can handle it and admire your work of art.
How Does It Work
As slime dries, the water and PVA alcohol that are used to make the slime slowly evaporate. While the water and PVA alcohol evaporate out, the slime maintains its vibrant color. If you’re using clear slime, the final piece of art will look like bent glass. You can blend clear slime and colored slime to make a semitransparent design, which works great as a sun catcher.
The smoothness and color of your dried slime depends on how your slime looked to start with and what drying method you used.
Take It Further
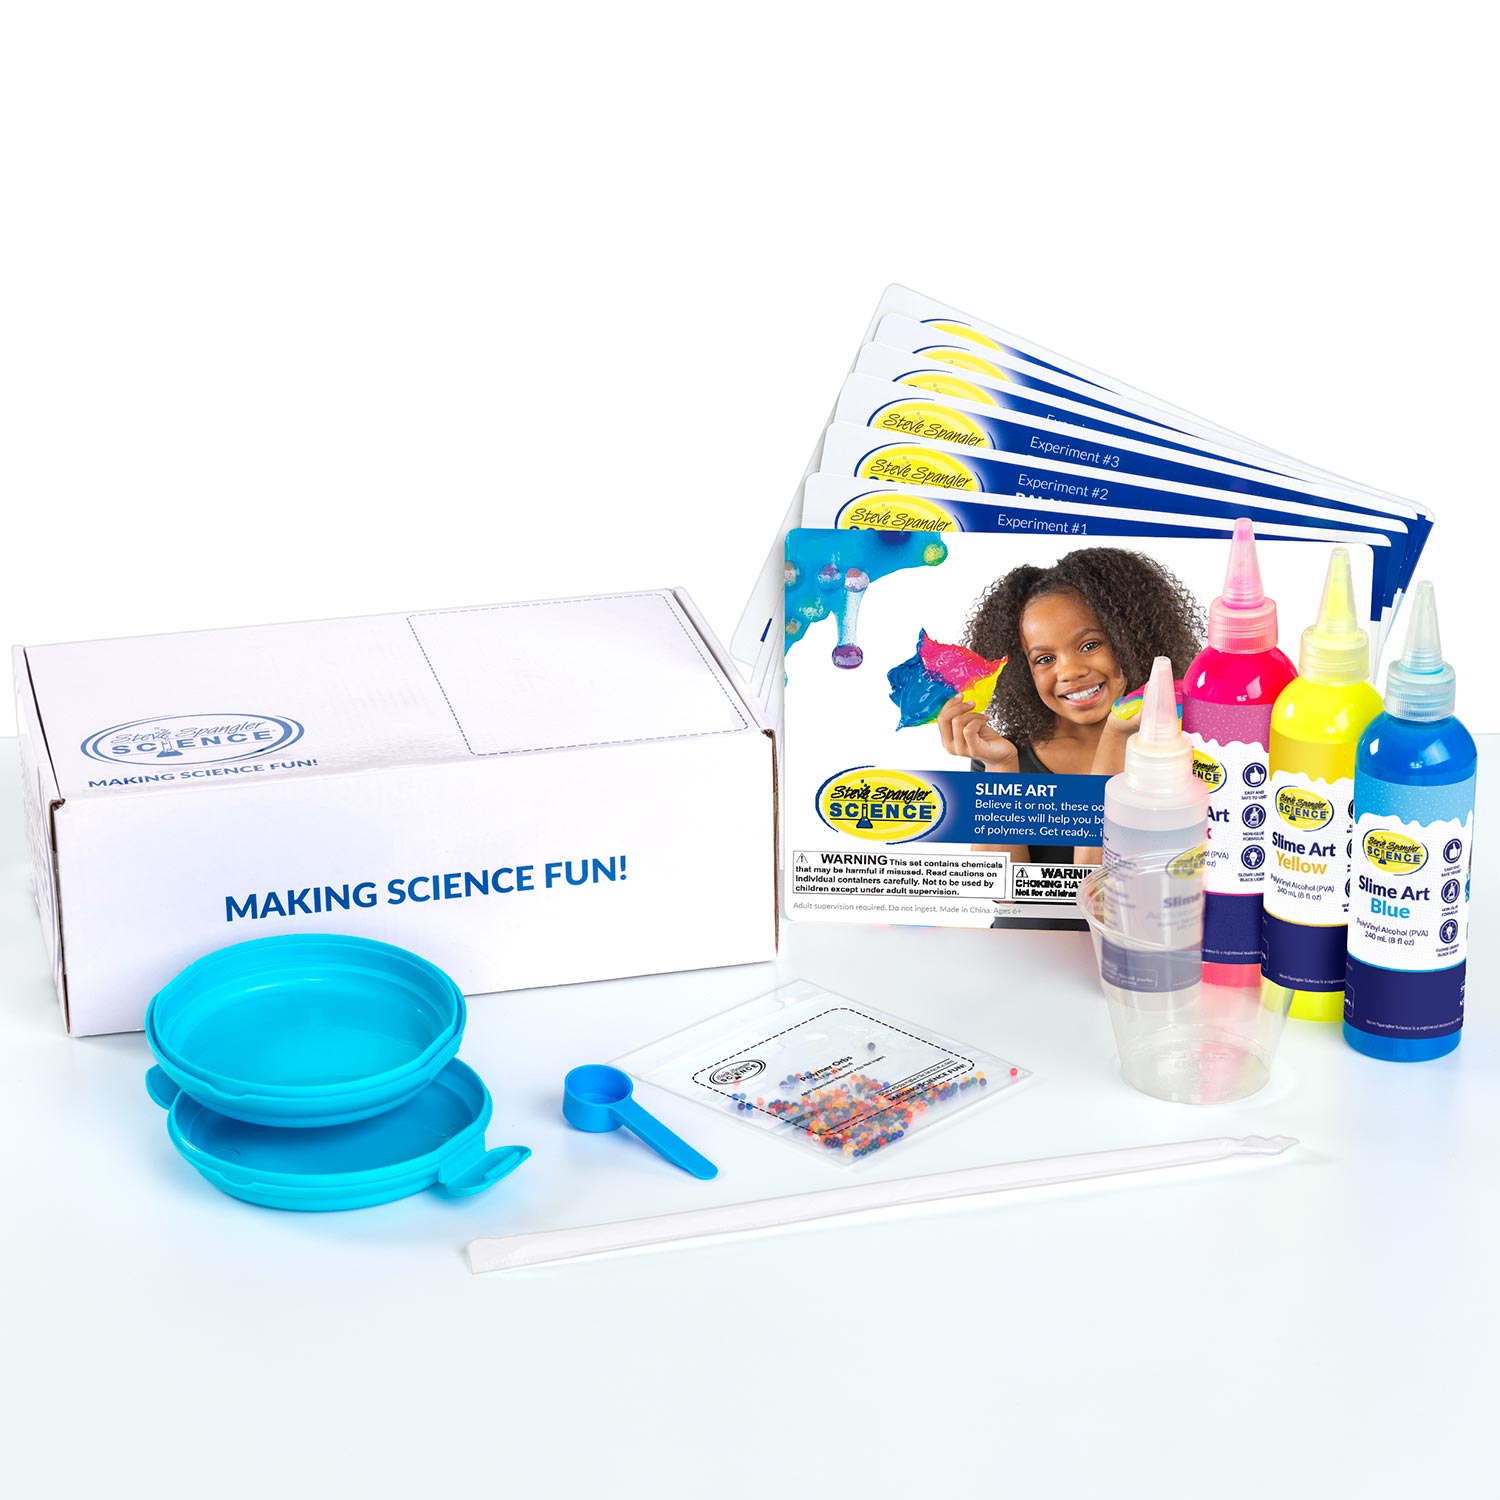
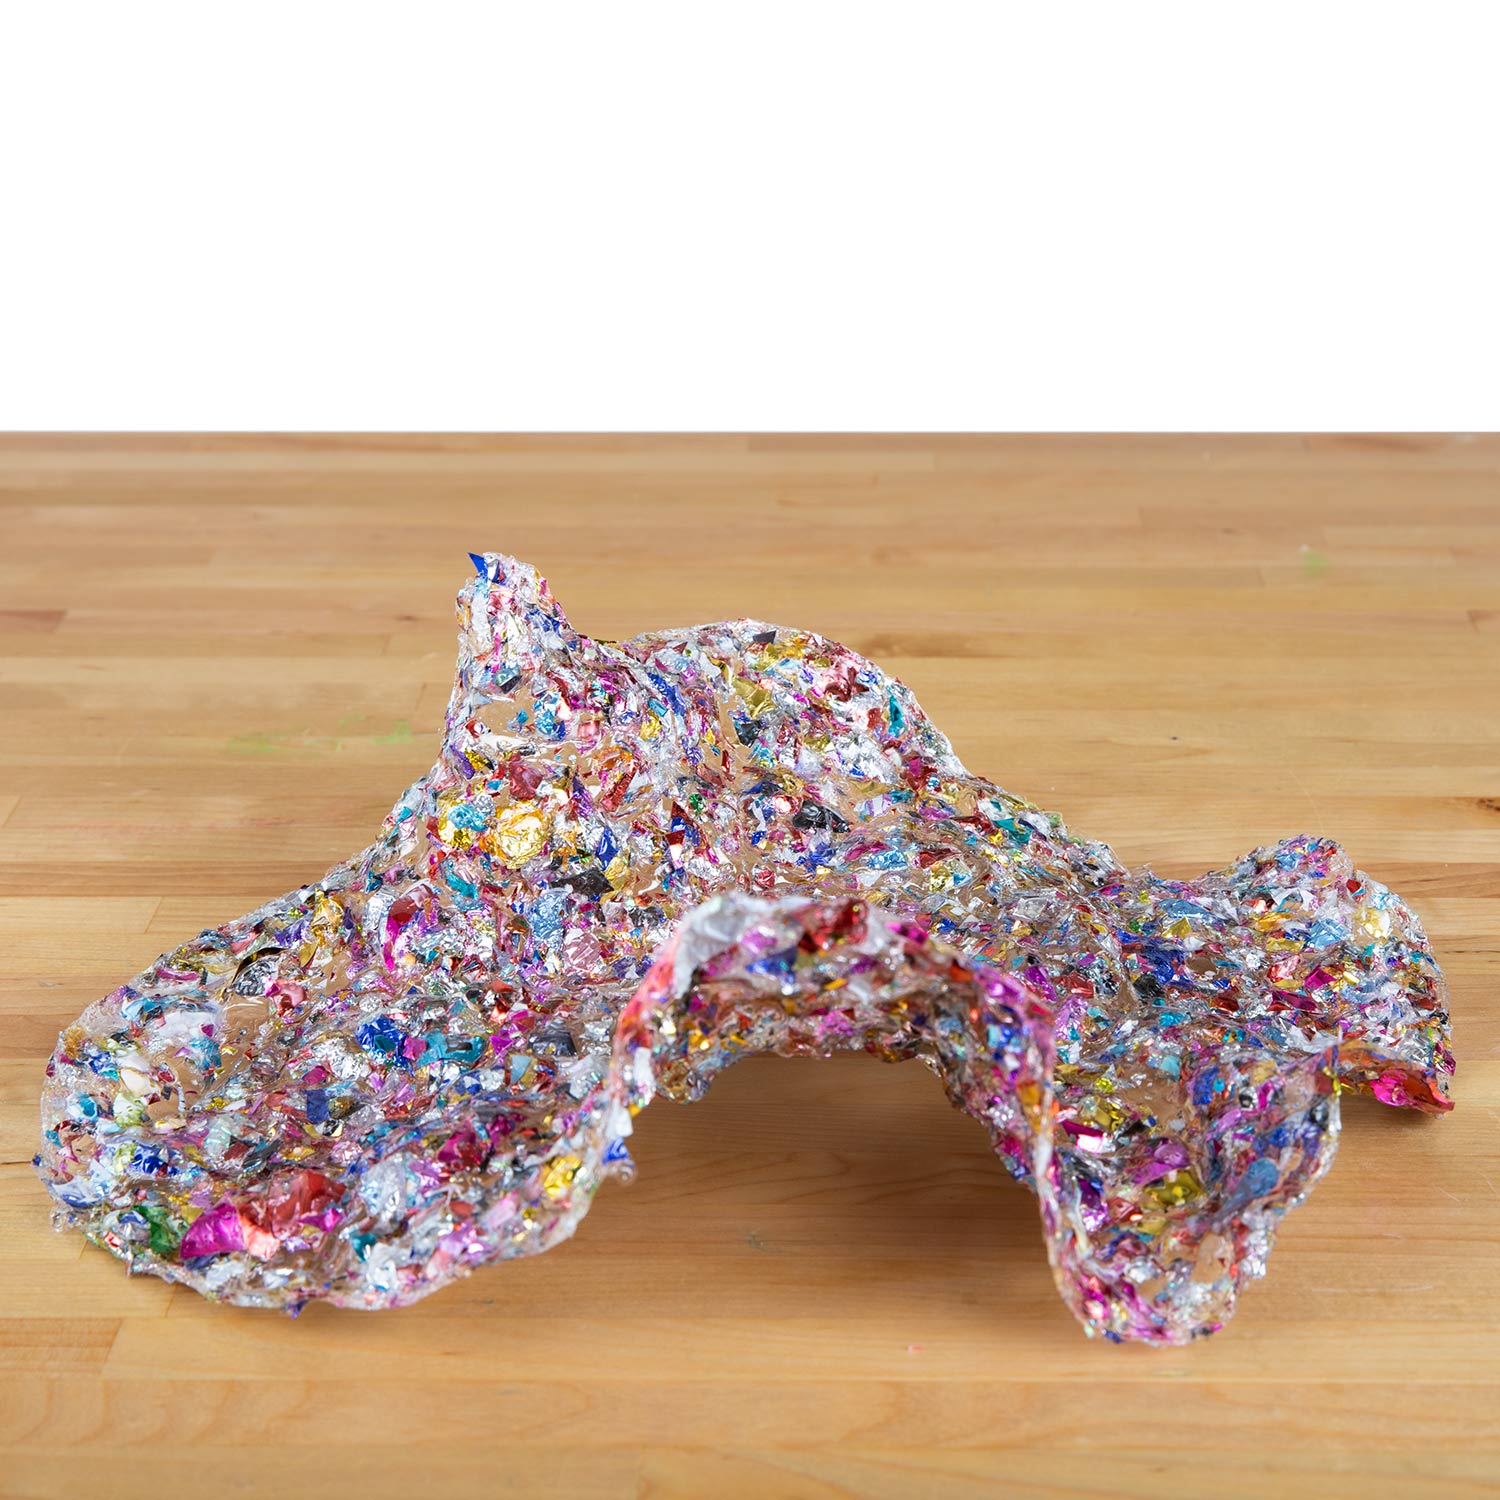
Make your slime art even more appealing with creative add-ins. For example, try including Colorful Growing Orbs, Jelly Marbles™, glitter and other things around the house. As a bonus, these items can make your slime more fun to play with before you dry it, too.
Try all kinds of color combinations and add-ins to see what kinds of fun slime creations you can make.


It even glows in the dark!

Science Fair Connection
Try different environments to dry your slime. Does a humid environment change the final results? Does using a fan quicken the drying process? Does spreading out the slime thin vs thick change the look of the art? Even if you can’t find a suitable Science Fair Connection you can enter your Slime Art into an art show.
Safety Information
While slime is safe to experiment with, always wash your hands after use.
Related Products